23/07/2021 • Blog, How To, Design Tips
How to Extend Kitchen Cabinets to the Ceiling
Does your kitchen have a high ceiling?
If so, you’ve probably wondered how you can fill the gap of empty space between your cabinets and the ceiling.
At Deslaurier Custom Cabinets, we get that question a lot and we’re here to answer it once and for all.
In this article, we’re looking at all the different ways you can extend kitchen cabinets. With the invaluable insight of Design Consultant Vanessa Horwat, we’ll discuss double-stacked cabinets, crown moulding, bulkhead trim, and multi-panel doors.
Start reading to start stacking!
High-Ceiling Kitchen Renovations
One of the most common requests we get from our clientele is for ceiling-height kitchen cabinets. Many homeowners don’t like having a blank space between their uppers and ceiling and are desperate for a cabinet design solution.
That’s usually the number one ask for a client—to have the cabinets go up to the ceiling. They want that space up above closed off one way or another. The good news is that depending on the budget, the look, and the ceiling height of the kitchen, there are different ways to attack the problem. —Design Consultant Vanessa Horwat
Four popular ways to extend kitchen cabinets to the ceiling are:
- Double-Stacked Cabinets
- Bulkhead Trim and Crown Moulding
- Bulkhead Trim Only
- Multi-Panel Doors
Each method has unique costs and considerations. Let’s look at them one by one.
Double-Stacked Kitchen Cabinets
Stacked cabinets are perhaps the most sought-after solution to cover up the empty wall space in a kitchen. Stacked cabinets give off a high-end aesthetic that’s ideal for kitchens with transitional or traditional styles.
Generally speaking, stacked cabinets are best for 9 ft. ceilings. Anything less than 9 ft. usually doesn’t offer enough space to make the stacked cabinets look proportional to the rest of the kitchen.
If you’re thinking about adding stacked upper cabinets to your design, be aware that the cabinets themselves are only one part of a larger cost.
There are other additional expenses that often go hand in hand with stacking cabinets. These design accommodations include:
- Overlay panels
- Glass inserts
- Interior cabinet lighting
- Cabinet box alterations
- Installation work
Let’s cover the reason behind each of these costs briefly.
Planning to renovate your kitchen? Our downloadable comprehensive guide will prepare you for every step of the kitchen renovation journey!
Overlay Panels for Kitchen Cabinets
Stacking cabinets is precisely what it sounds like—you’re putting a second row of cabinets on top of the first.
Inevitably, that “stack” creates a seam between the top of the bottom cabinet and the bottom of the top cabinet. That seam will remain visible on the exposed ends of your uppers unless you hide it with overlay panels.
An overlay panel must be custom-ordered and manufactured to the height of both cabinets fitted together. For example, if you had 30-inch uppers with 15-inch cabinets stacked on top, your overlay panel would need to be 45 inches long.
Keep in mind that some overlay materials may be harder to source than others, depending on the cabinet maker you work with.
For example, at Deslaurier, a few of the cabinet materials in our modern line have height limitations. For instance, we don’t manufacture PET panels larger than 8 feet. That means that if you had PET stacked uppers and wanted an extra-large overlay panel around the fridge or pantry area, you might need to order panels in another material, like MDF, and then finish them with a custom colour to match the PET.
Click to learn more about Deslaurier’s custom colour-matching program.
Kitchen Cabinet Glass Inserts
Next, you can’t talk about stacked cabinets without talking about glass inserts! You’ll definitely want to consider whether you want to add glass fronts to the upper panels in your stacked cabinets.
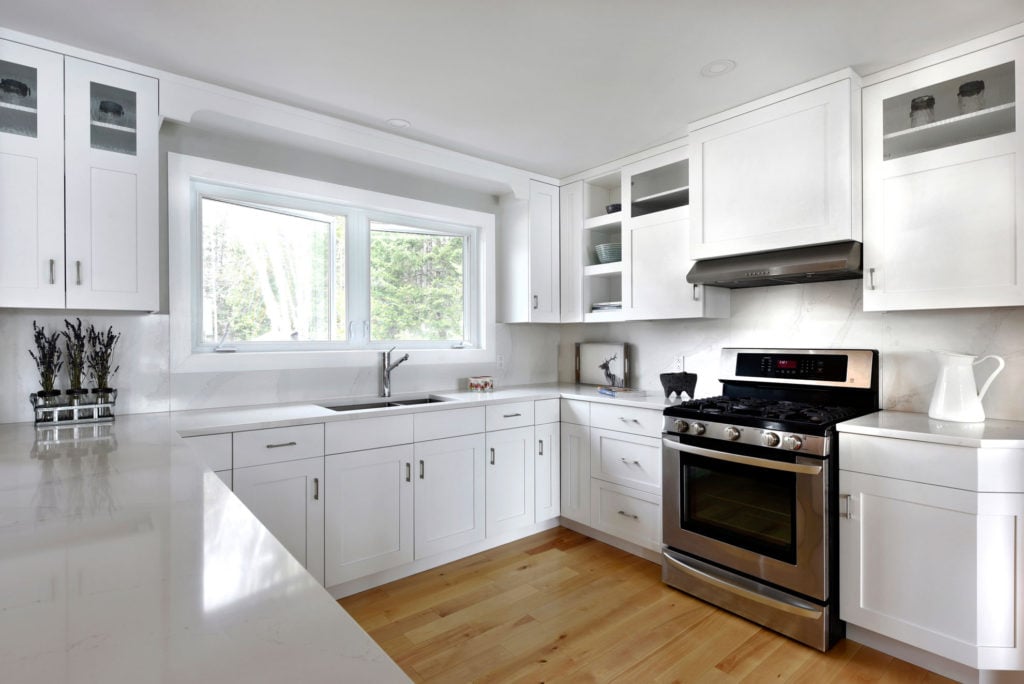
If you have some particularly decorative dishware that you’re keen to showcase, a stacked cabinet with a glass door is the perfect way to display it.
Check out how the glass uppers in this kitchen show off some unique pieces:
Of course, a glass front door is an upgrade and will cost you more. To that end, if you want to reign in your spending, place your glass inserts strategically and sparingly throughout the room.
For example, designer Vanessa Horwat tells us that using glass inserts directly above the fridge is more or less a waste of space and money. That’s because the cabinet above the fridge is typically a deep cabinet—it’s not worth transforming such a large storage space into a display that you’ll only use for a single piece of crockery.
Instead, place glass inserts on either side of the window or either side of the range. Use glass fronts for shallower cabinets (like 12-inch cabinets) to make your dollar and design stretch further.

Interior Kitchen Cabinet Lighting
If you do opt for glass doors, more often than not, you’ll also be interested in illuminating the interior cabinet with display lighting.
Interior cabinet lights are a great source of accent lighting which can work wonders for your kitchen’s mood.
That being said, those interior lights will lead to another conversation and cost with your electrician.
Click to learn more about interior cabinet lights in our article, “How to Plan Lighting for Your Kitchen”.
Kitchen Cabinet Box Alterations
If your kitchen has existing bulkhead that will stay put throughout the reno, there is a work-around solution that’s available for an additional cost.
You can customize your cabinet boxes by notching the cabinet’s backside. That way, your stacked uppers will fit in like a puzzle piece around the bulkhead while simultaneously hiding it from view.
You do have to sacrifice some cabinet space to make the notch work, and you also won’t be able to put glass inserts in those notched top panels, but for some homeowners, that trade-off is a small price to pay for making the bulkhead disappear.
Kitchen Cabinet Installation Work
It goes without saying that by stacking your cabinets, you’re adding a whole separate row of cabinets to your contractor’s workload. When installation rolls around, that translates to additional labour.
Often, the cost of installation work is tallied by box count. The more boxes there are, the more work there is to do.
Bulkhead Trim and Crown Moulding
Pro designer Vanessa Horwat tells us that:
In my opinion, stacked upper cabinets have more of a decorative purpose than anything else. Yes, they offer extra storage, but it’s not easily accessible storage. Stacking is more about creating that specific look.
So, what if the stacked cabinet look isn’t what you’re after, but you still want to cover up the leftover empty wall space in your kitchen?
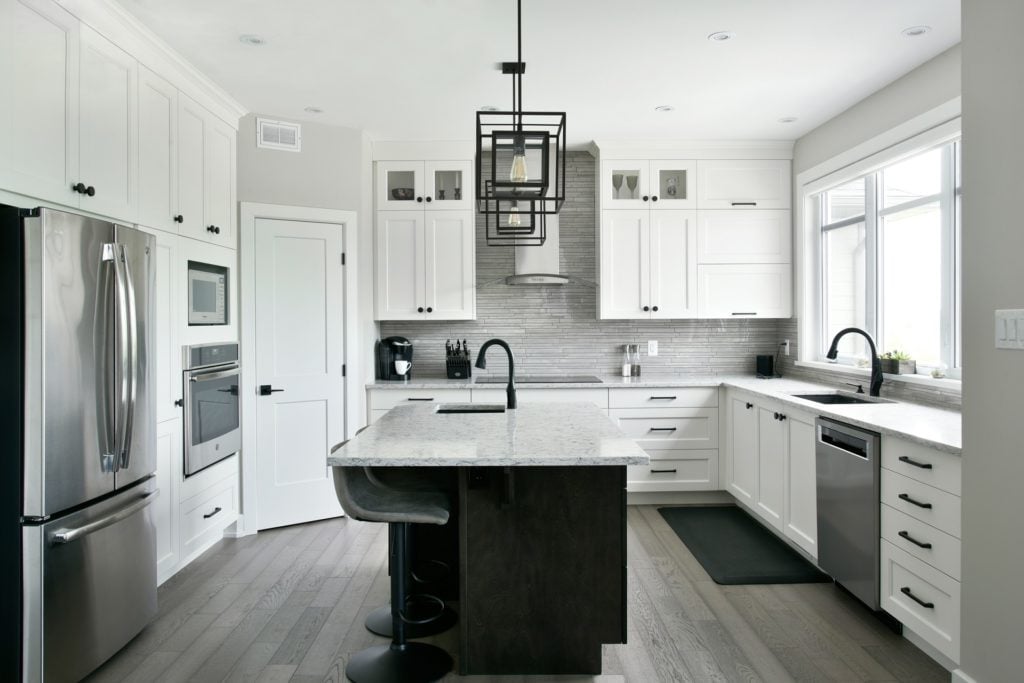
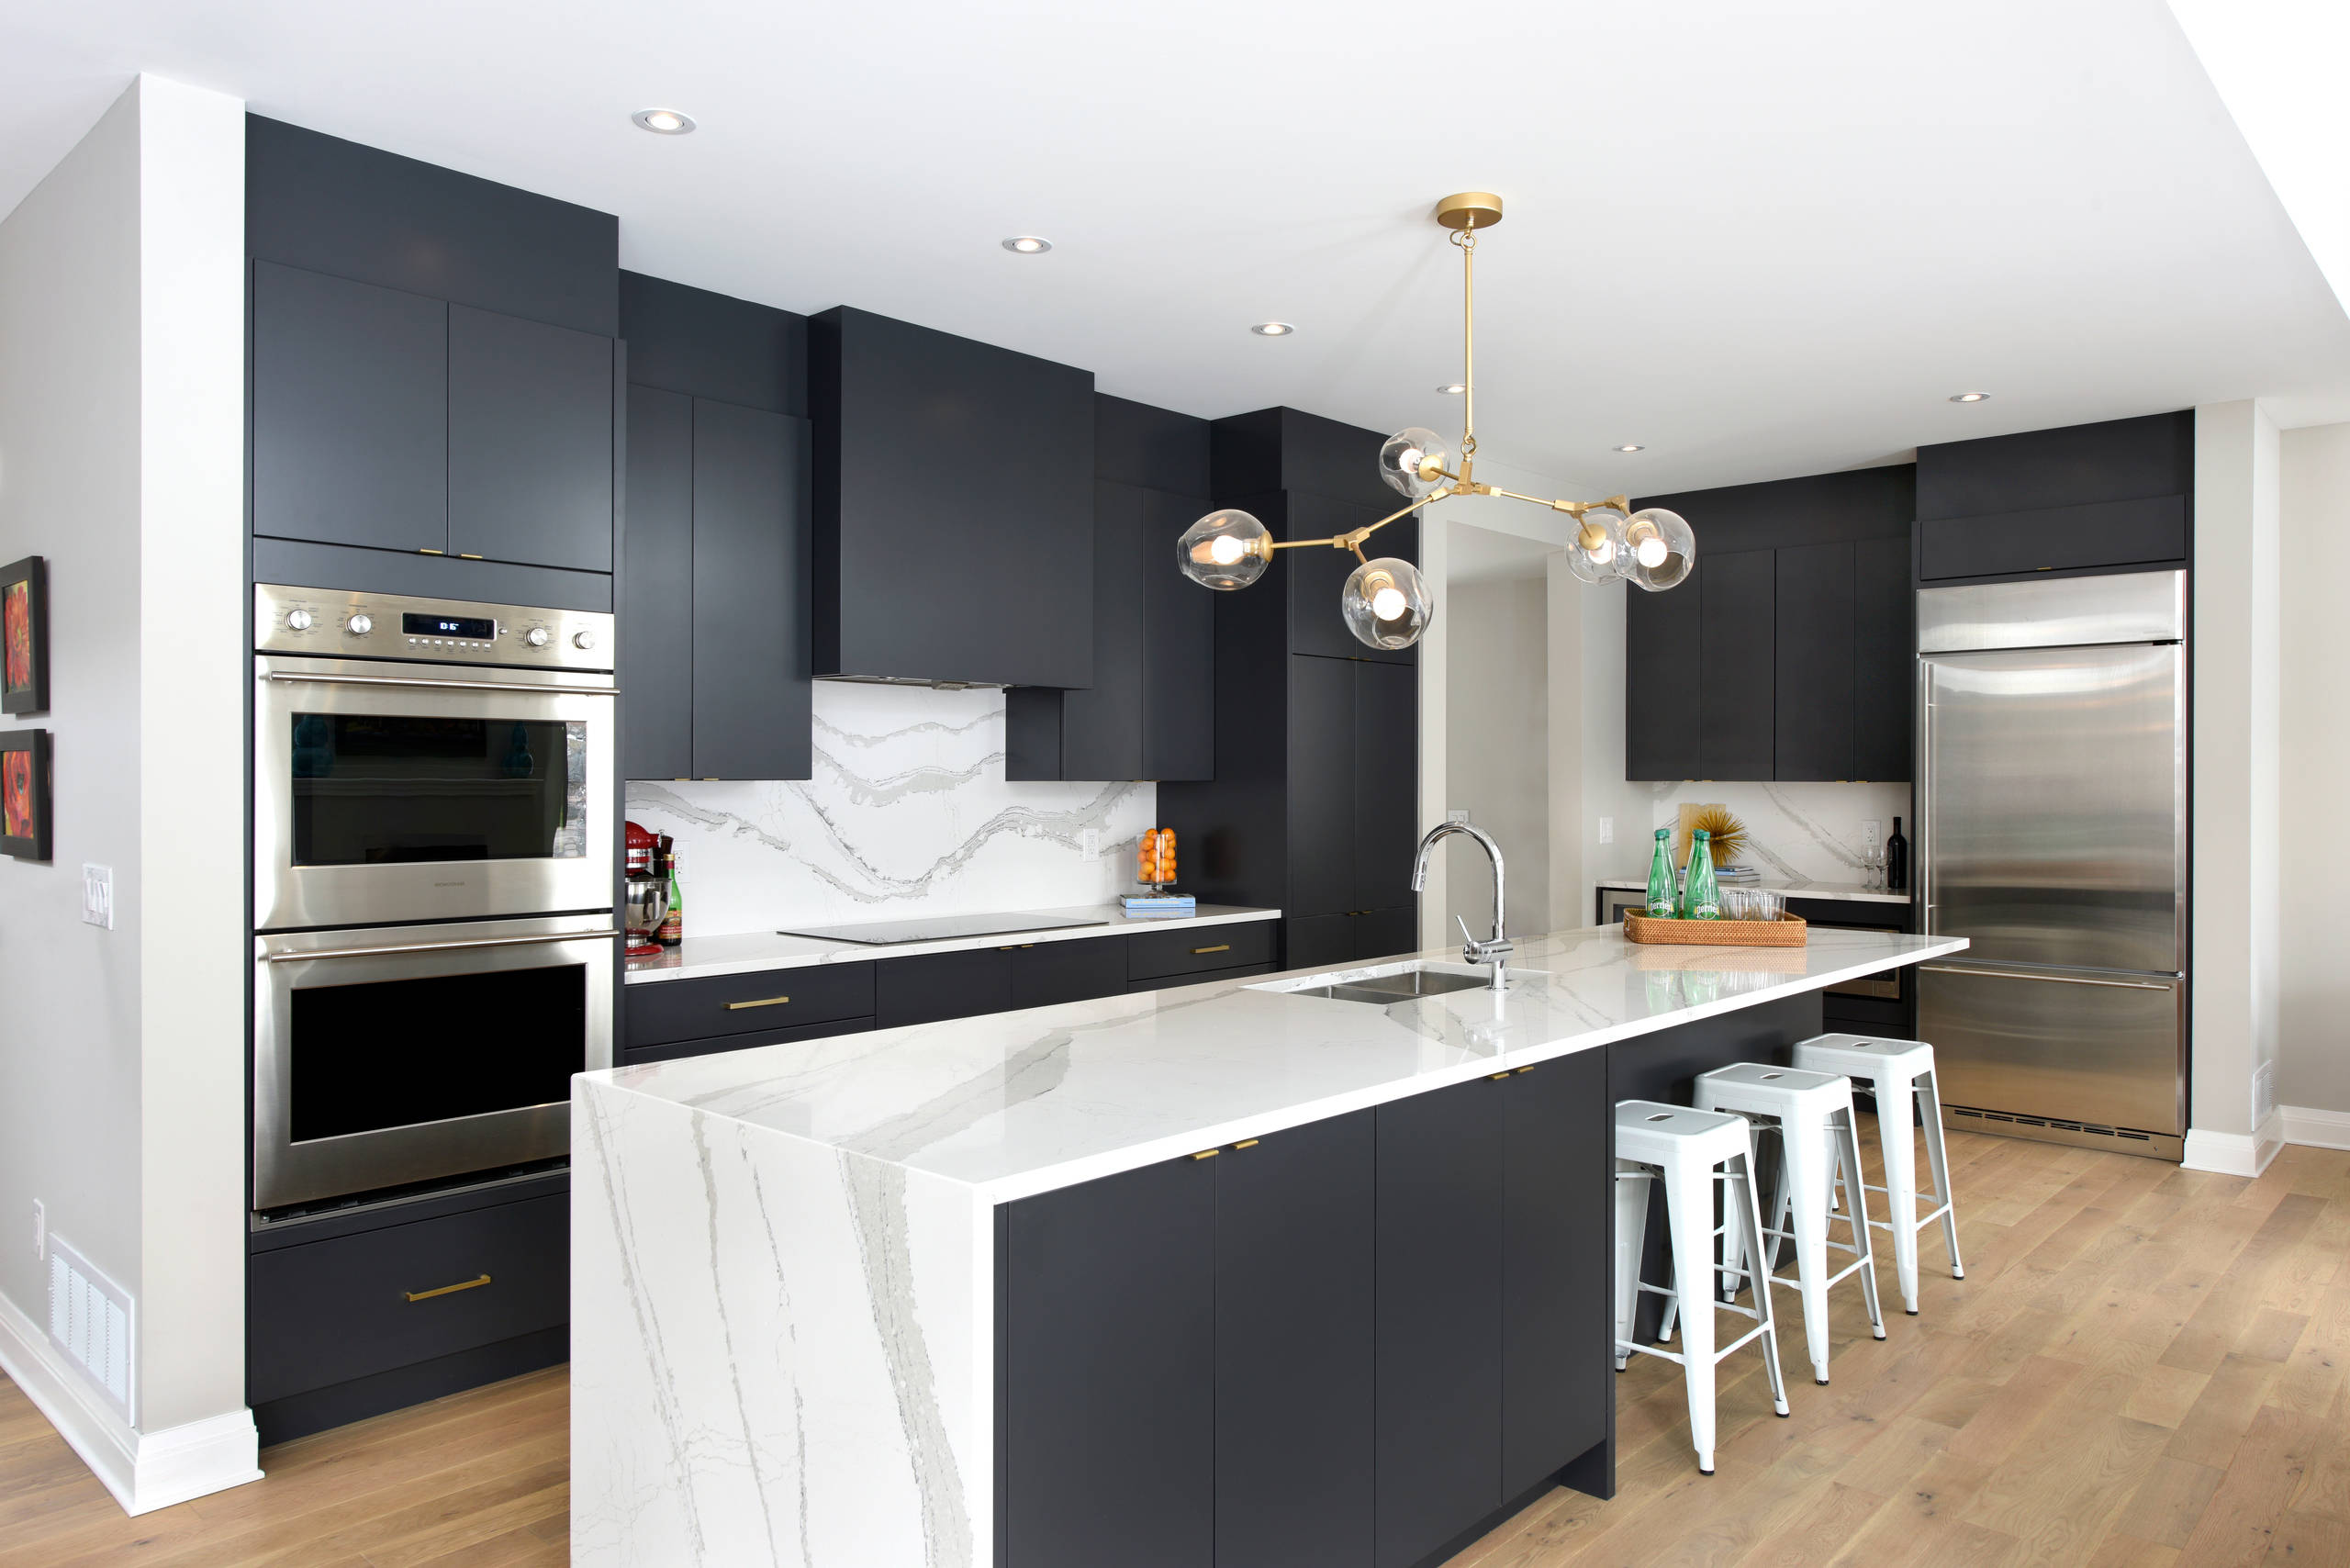
A combination of crown moulding and bulkhead trim is a great way to cover that remaining foot or so of space. Plus, it’s almost certainly more cost-effective than stacked cabinets.
Take a look at this jaw-dropping kitchen design that maximizes the effect of the crown moulding and bulkhead trim pairing:
Bulkhead Trim
Although the crown moulding and bulkhead trim duo is a more competitive option than stacked cabinets, crown moulding can still be a rather pricey product.
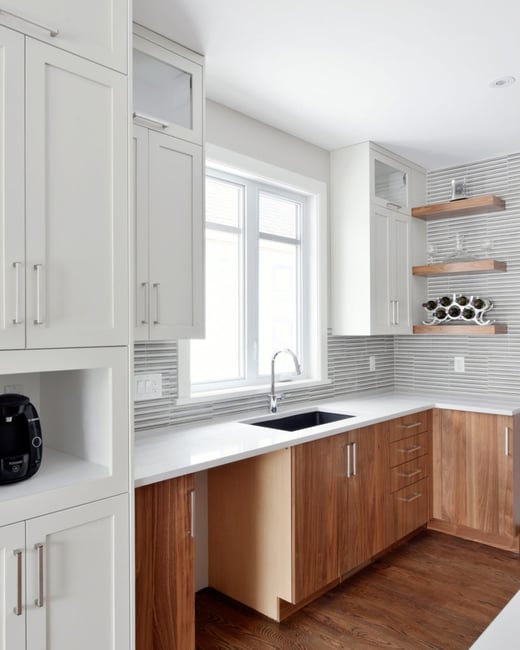
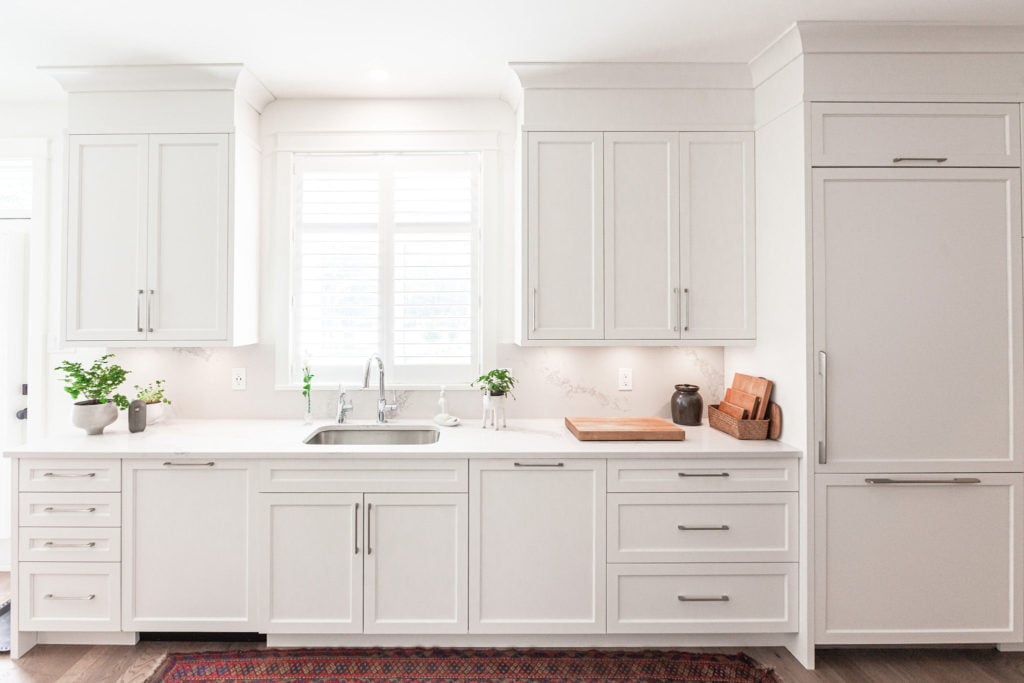
If you’re renovating on a tight budget, you can minimize expenses even more by passing on the crown moulding for a bulkhead trim-only look.
Here’s a kitchen that transitions directly from upper cabinets to bulkhead trim and looks great while doing it, too:
A bulkhead trim-only approach is ideal for ceilings from 8-9 ft. high. Anything more than that becomes a challenge to incorporate proportionally into a design.
Removing Drywall Bulkhead
Maybe your kitchen has drywall bulkhead but you want it taken out completely. Is it possible?
Sometimes.
It depends on whether or not the bulkhead houses mechanical vents, wiring, or plumbing. Typically, that’s the purpose of drywall bulkhead: to cover up the HVAC that can’t run above the ceiling joists.
However, occasionally contractors include drywall bulkhead in a home for a purely cosmetic reason. In that scenario, you’d be free to remove it if you wish.
If you’re planning to take out your bulkhead, always check with your contractor first to confirm if there’s anything inside.

Multi-Panel Kitchen Cabinet Doors
Finally, the last non-stacked design option to fill in that empty wall area is using multi-panel doors.
At Deslaurier, you can purchase a multi-panel cabinet door style, which is sectioned off by a rail to look like the two doors, when in fact it’s actually a single door.
Multi-panel doors are a more budget-friendly alternative to stacked cabinets, with all the look and less of the cost.
The only catch is that it’s not guaranteed that your multi-panel doors will reach the ceiling on their own. Deslaurier’s max height for upper cabinets is 41 inches. So, depending on your ceiling height, stacked cabinet lookalikes still may not reach the ceiling unless you add crown moulding and/or bulkhead.
Design With Deslaurier
Are you ready to hit the drawing board?
Schedule a no-obligation consultation with one of our award-winning kitchen designers! We love helping homeowners renovate and build customized spaces of quality and distinction.
Live outside the Ottawa area? Use our online Find a Dealer tool to locate an authorized Deslaurier dealer near you.
![]()
Related Links: