16/07/2021 • Blog, How To, Design Tips
How to Organize Your Kitchen Cabinets
Almost every homeowner would admit: the kitchen is difficult to keep organized.
Fear not!
The key to achieving an orderly kitchen environment is mastering kitchen cabinet organization. At Deslaurier Custom Cabinets, we believe there’s no better way to unlock the full potential of your kitchen than by thoughtfully designing and practically organizing your cabinets.
Of course, a pro cabinetry design is only half the battle. Our clients often ask us, “How should I organize my cabinetry post-installation?”
This article will outline 5 simple steps to achieve that elusive clutter-free kitchen space.
Let’s get organizing!
Benefits of Having Organized Kitchen Cabinetry
Before you embark on this project, let’s refresh our memory on the “why” behind your efforts.
An organized kitchen cabinetry system can save you:
- TIME — With food and cooking utensils easily accessible, you’ll save time meal prepping, cooking, and making grocery lists.
- EFFORT — When everything has a designated place, cleaning the kitchen becomes much easier.
- MONEY — An organized kitchen can actually save you money because you’ll be less likely to buy duplicate items by mistake.
Kitchen Cabinet Organization
Choose Your Own Adventure
If you don’t know it already, your kitchen houses a lot of stuff.
The road to organization looks a little different for everyone. Figuring out what method works best for you may require some trial and error.
Choose your own adventure between these two approaches:
Jump In & Tackle!
For all of the go-getters out there who like to get their hands dirty and get the job done, you may prefer to tackle the job head-on and complete your system of organization in one shot.
This approach would involve completely emptying your cabinets, purging your belongings, and creating a completely new system of organization in one long block of time. This process can take anywhere from a few hours to an entire day.
If you choose this approach, remember to be patient as your kitchen transforms into a storm of chaos. Things will get worse before they get better!
Cabinet by Cabinet
Alternatively, if a “jump in and tackle” approach sounds overwhelming and too much for your jam-packed schedule, you may prefer to organize your kitchen cabinetry one cabinet at a time.
This approach works best for those who don’t plan on doing a significant amount of rearranging but rather plan to declutter and swap items between a couple of cabinets.
Five Steps to Organized Kitchen Cabinets
Step One: Declutter
Before organizing and rearranging … declutter, declutter, declutter!
Purging your kitchen will not only free up space but will also allow you to take stock of what you have and sort your items strategically.
Take EVERYTHING out of your cabinets!
As you sift through your belongings, consider the essential use of each item (or lack thereof). If an item is chipped or broken, throw it away. As you sort through Tupperware containers, pots, and pans, toss any items without a matching lid.
If you come across an item you never use, put it in the donation or garage sale pile.
All this being said, you may find seasonal items like a Christmas serving dish or Thanksgiving napkins that you don’t want to part ways with but only use once a year. Belongings like these are better stored somewhere other than the kitchen, like the attic or basement. This will free up some valuable cabinet real estate for everyday items.
Step Two: Clean Your Cabinets
While your cabinets are empty, take advantage of this time to give them a good clean.
Start by removing crumbs, dust, and other loose particles with either a broom or vacuum.
Next, clean all surfaces from the exterior to the interior corners with a cabinet-friendly cleaning solution. A mixture of vinegar and hot water or mild dish soap and hot water will do just fine. For extra greasy spots, tackle the grime with a mixture of baking soda and water.
Stay away from harsh or abrasive cleaners to protect your cabinet’s finish and be sure to wipe the cabinets dry with a clean cloth to avoid damage such as warping or peeling from excess moisture.

Step Three: Line Cupboards & Drawers (Optional)
Lining your cupboards and drawers is a great cleaning trick. Lay down liners to protect your interior cabinet surfaces from new spills and dust build-up.
Plus, some liners even have grips to hold fragile items like glassware in place.
Non-adhesive liners are easy-peasy to remove, wash, and replace.
Practicality aside, liners can also add a fun and stylish element to your kitchen cabinetry. While most people opt for white or clear liners, you can also play around with colours or patterns to add some visual interest to your cabinets.
Here's a liner product that comes in a variety of styles (*Deslaurier is not affiliated with this product and does not receive any commission from your use of the above link—we simply want to show you some organization tools that you may find helpful!).
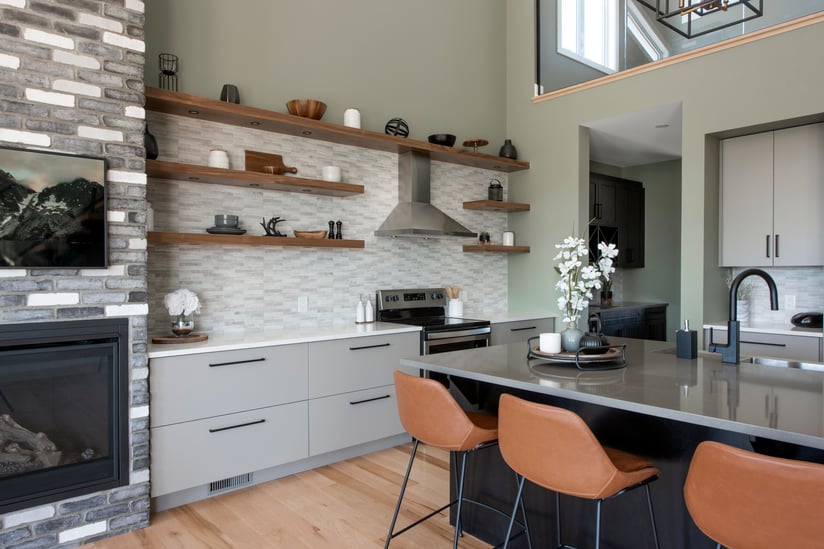
Step Four: Sort & Organize by Zones
If you worked with a designer on your floor plan, your kitchen probably already has distinct zones.
Ideally, you want to match your items to each zone. That means knives by the food prep area, baking pans by the oven, and so on and so forth.
Below is an outline of common kitchen zones and their corresponding kitchen items:
| Cooking & Baking Zone |
The cooking and baking zone is where you cook food. Normally, this zone contains all your major kitchen appliances like the stove, oven, and microwave. |
|
| Food Prep Zone |
The food prep zone is where you prepare your meals. Food prep usually takes place where there is sufficient counter space, such as a kitchen island. |
|
| Food Storage Zone |
The food storage zone is where you store your food. This often includes the fridge, freezer, select cabinetry, and perhaps a pantry. |
|
| Storage Container Zone |
The storage container zone should be somewhere in the kitchen where you pack up leftovers. It’s strategic to place your storage container zone close to your food storage or prep zone. |
|
| Dishwashing Zone |
The dishwashing zone is where you wash your dishware. The dishwashing zone tends to be near the dishwasher and sink. |
|
| Cleaning Supplies Zone | To make cleaning products accessible, yet still tucked away, it’s best to place them under the sink. |
|
| Coffee, Tea, or Beverage Zone |
You may wish to designate a specific area for beverages. Create a coffee and tea bar nearest to the coffee maker and your mugs. |
|
Sorting Between Upper and Lower Cabinets
With these zones in mind, next you need to decide what items you want to place in the upper vs. lower cabinetry.
Upper Cabinetry
We recommend keeping everyday items in upper cabinetry. That being said, easy access is the name of the game, and so this rule of thumb only makes sense if you can safely reach your upper cabinets. If you need to stretch on your tip toes or use a step stool, reserve those upper cabinets for infrequently used items.
As for what shelves to use within the uppers, follow this guideline: whatever you reach for the most, keep on the lowest shelf.
For example:
- Place dishes, glassware, and food on the lower shelves of the upper cabinetry.
- Items only used occasionally such as pitchers, platters, serving bowls, and cookbooks should be kept on the highest shelves of the upper cabinetry section.
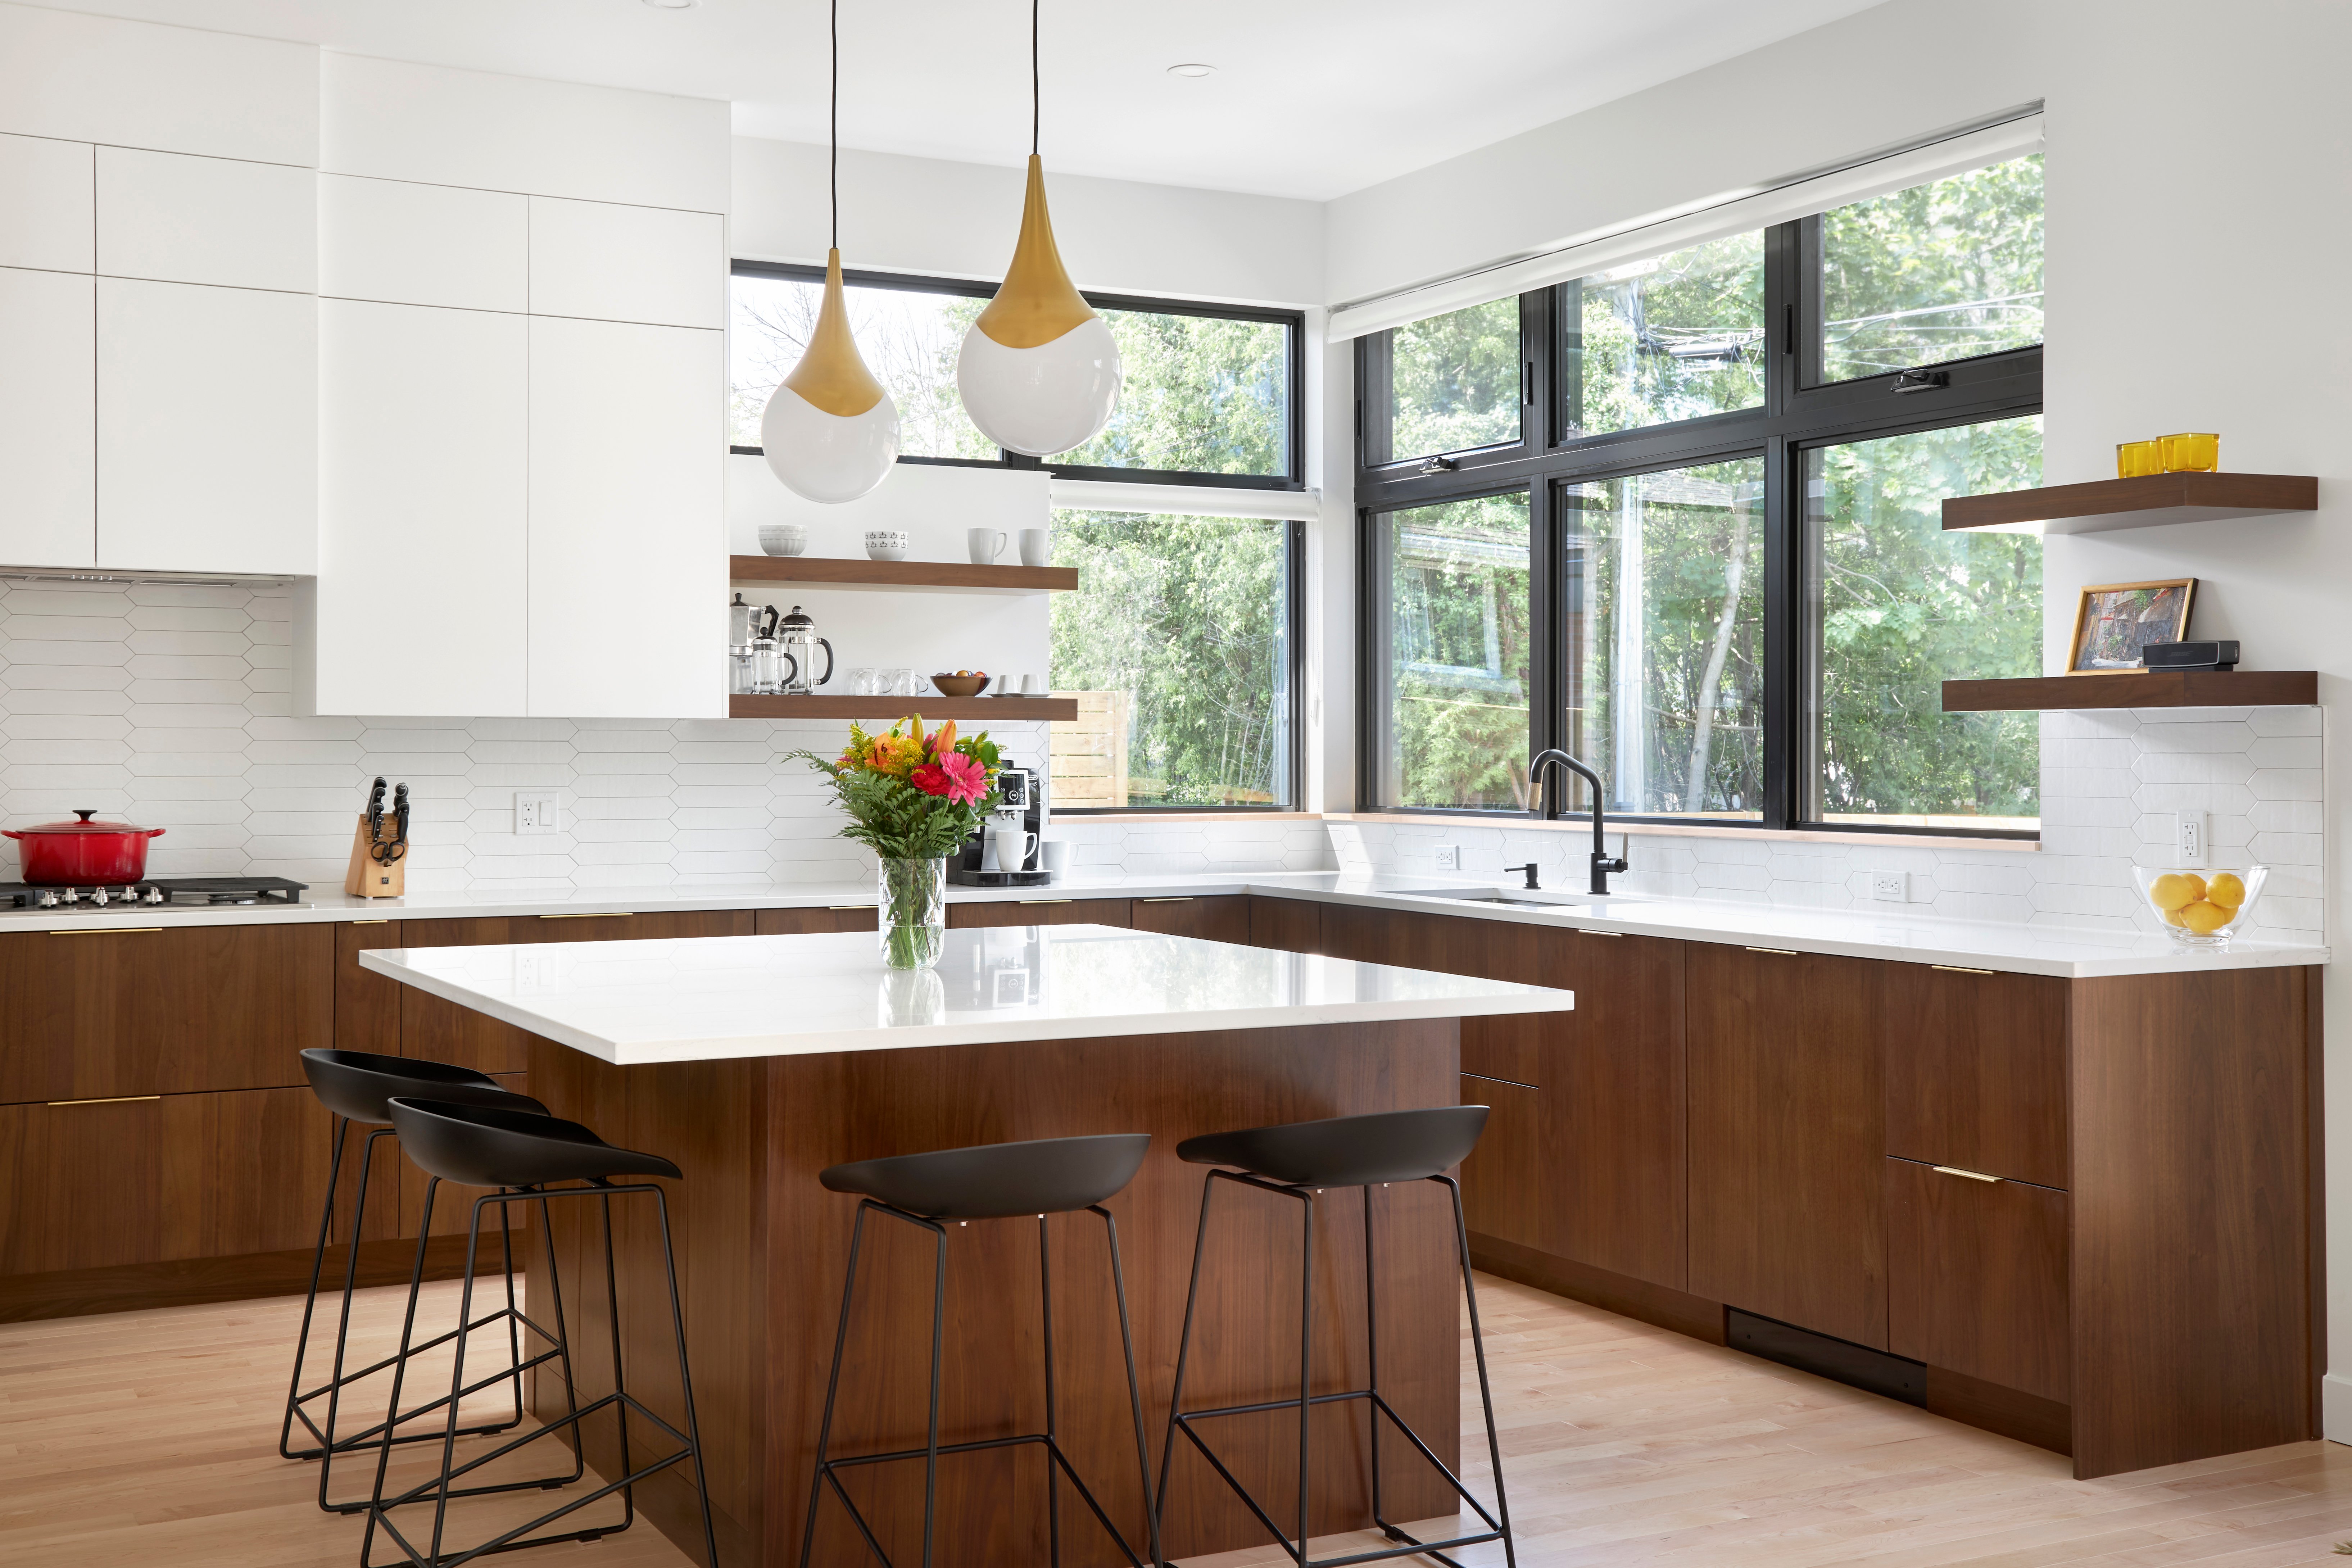
No upper cabinets? No problem.
A recent kitchen renovation trend has homeowners swapping out their upper cabinets for minimalistic open shelving. While floating shelves can store some of your kitchen must-haves, they certainly can’t hold as much.
As a result, many homeowners are discovering that dishes, bowls, and plates go really well in pull-out drawers on the kitchen island (click to learn more about how to design a kitchen island). Better yet, install a few designated dividers for them and you can stack away without worrying about anything toppling over.
Not to mention, it’s much simpler to get the kids to help set the table when your dishware is in a low drawer where they have easy access!

Lower Cabinetry
In the lower cabinets, you should store frequently used cooking appliances and meal prep tools.
For example:
- Silverware and miscellaneous cooking utensils go well in the upper drawers of the lower cabinetry section.
- Food prep appliances such as heavy blenders, toasters, popcorn makers, waffle makers go nicely on lower shelves.
- Pots, pans, and baking sheets are best placed in lower cabinets near the stove and oven. Oftentimes, ovens have a large lower drawer that is great for storing large baking sheets. Pots and pans can be nested while lids are stored vertically.
- Store mixing bowls and cutting boards in lower cabinets, ideally in close proximity to the meal prep zone.
- Finally, place cleaning supplies in the lower cabinets, preferably in a designated area under the sink. If the lower cabinetry has multiple levels of shelving, be sure to place cleaning supplies on the bottom shelf to avoid spilling chemicals and having them run down to other shelves. Never store cleaning supplies above or on the same shelf as food.
Remember, whatever you place on the bottom shelf is what you’ll have to bend down for. That means the shelving guideline for base cabinets is the opposite to the upper cabinet guideline: whatever you reach for the most, keep on the top shelves.
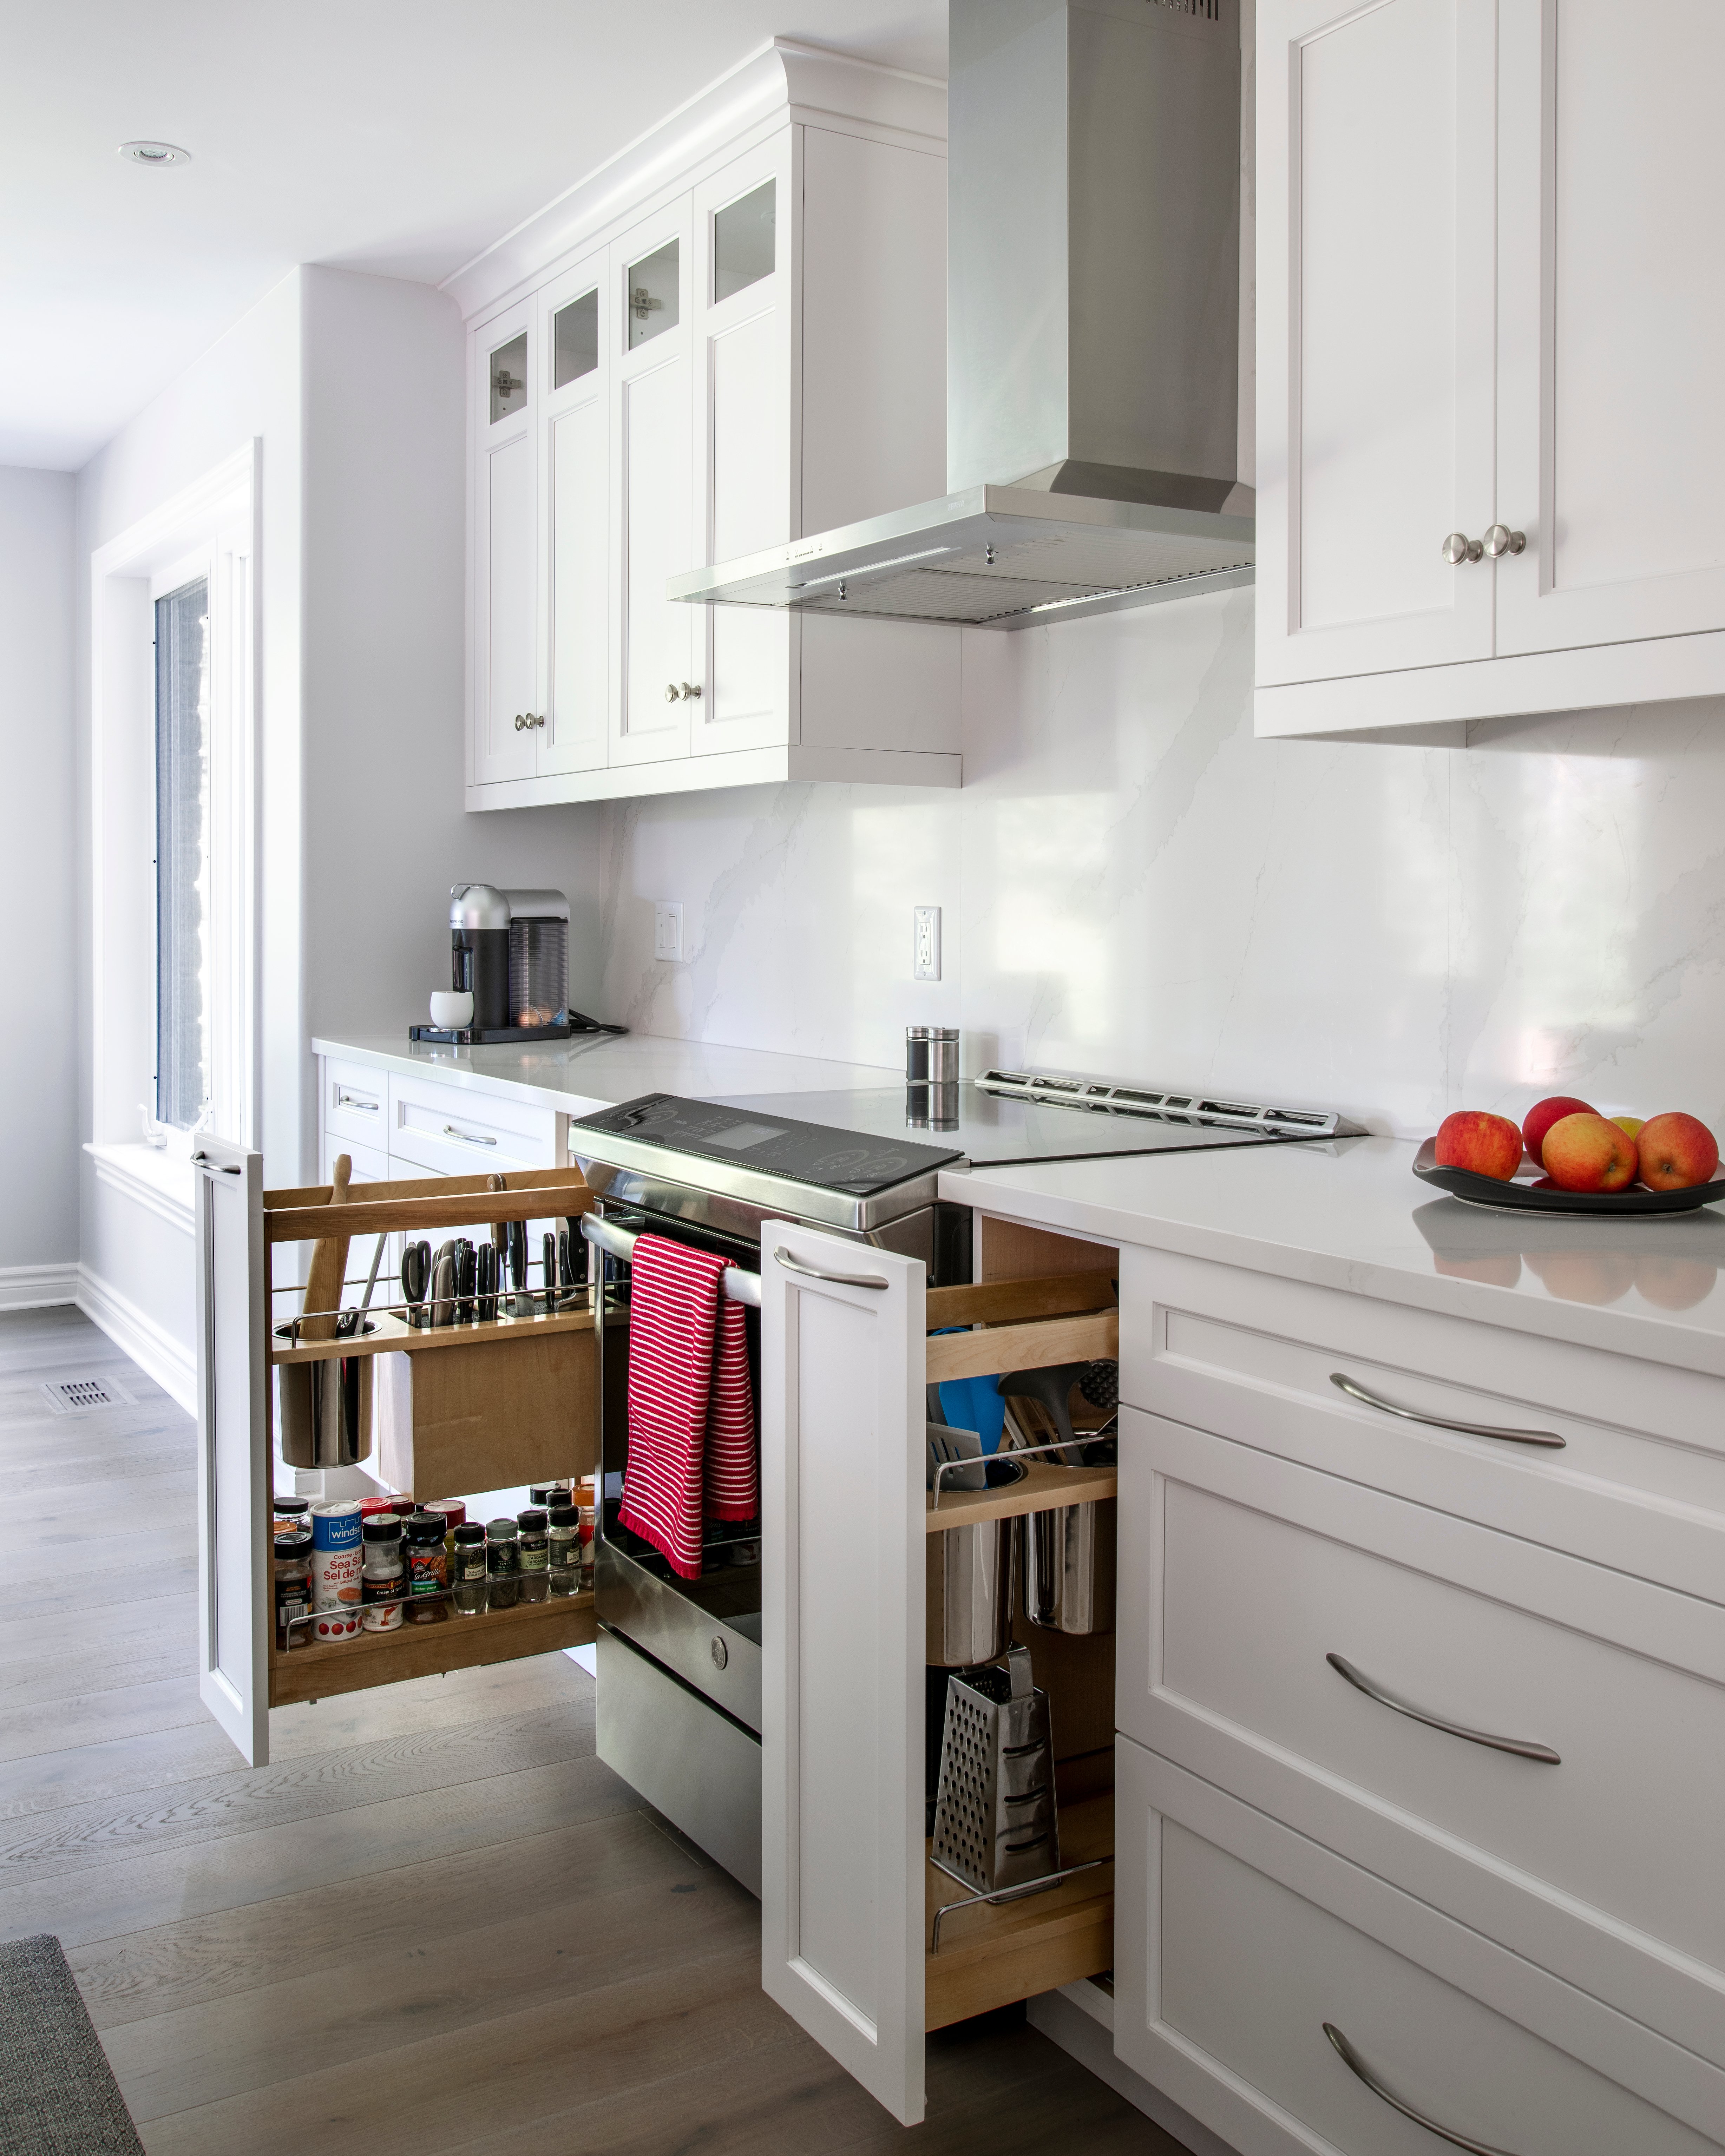
Step Five: Optimize Space with Cabinet Accessories
Once you’ve organized your cabinetry by zones, and then into upper vs. lower cabinets for accessibility, optimize your space with the use of cabinet accessories.
Modern accessories improve the overall function of your kitchen by strategically sorting items, adding extra levels of storage space, and increasing accessibility.
Some common cabinet accessories are:
- roll-out trays
- corner accessories
- tray dividers
- pull-out recycling & garbage receptacles
- pull-out spice & oil drawers.
For more ideas on how to organize your cabinets with accessories, take a look at the article Best-Selling Kitchen Cabinetry Accessories.
How to Maintain Cabinet Organization
After all that hard work, you want to make sure that you can maintain the fruits of your labour.
Most homeowners know that getting things organized isn’t the problem—it’s keeping them organized that proves a challenge, especially when multiple people use the kitchen.
The most important part of maintaining cabinet organization is ensuring that everyone in your household is aware of the new organization system. Try labeling containers, storage bins, and even cabinet doors to help everyone place kitchen items back in their designated home.
Another good practice for maintaining organized cabinets is turning food and product labels to face out. This makes things easier to find and notice when it is time to throw expired food away.
Design With Deslaurier
At Deslaurier, we specialize in designing cabinetry that is customized to match your space, organization requirements, and style preferences. We do the work for you, crafting kitchens that incorporate both function and beauty.
Our talented team of designers offers extensive knowledge and thoughtful design solutions tailored to your organizational needs.
Visit us at our local Ottawa location or request a consultation to get started working with our design team today.

![]()
Related Links:
- How to Start a Kitchen Renovation
- 5 Best-Selling Cabinet Door Styles
- 5 Best-Selling Kitchen Cabinet Paints & Stains